Weight & Balance, The Fundamentals
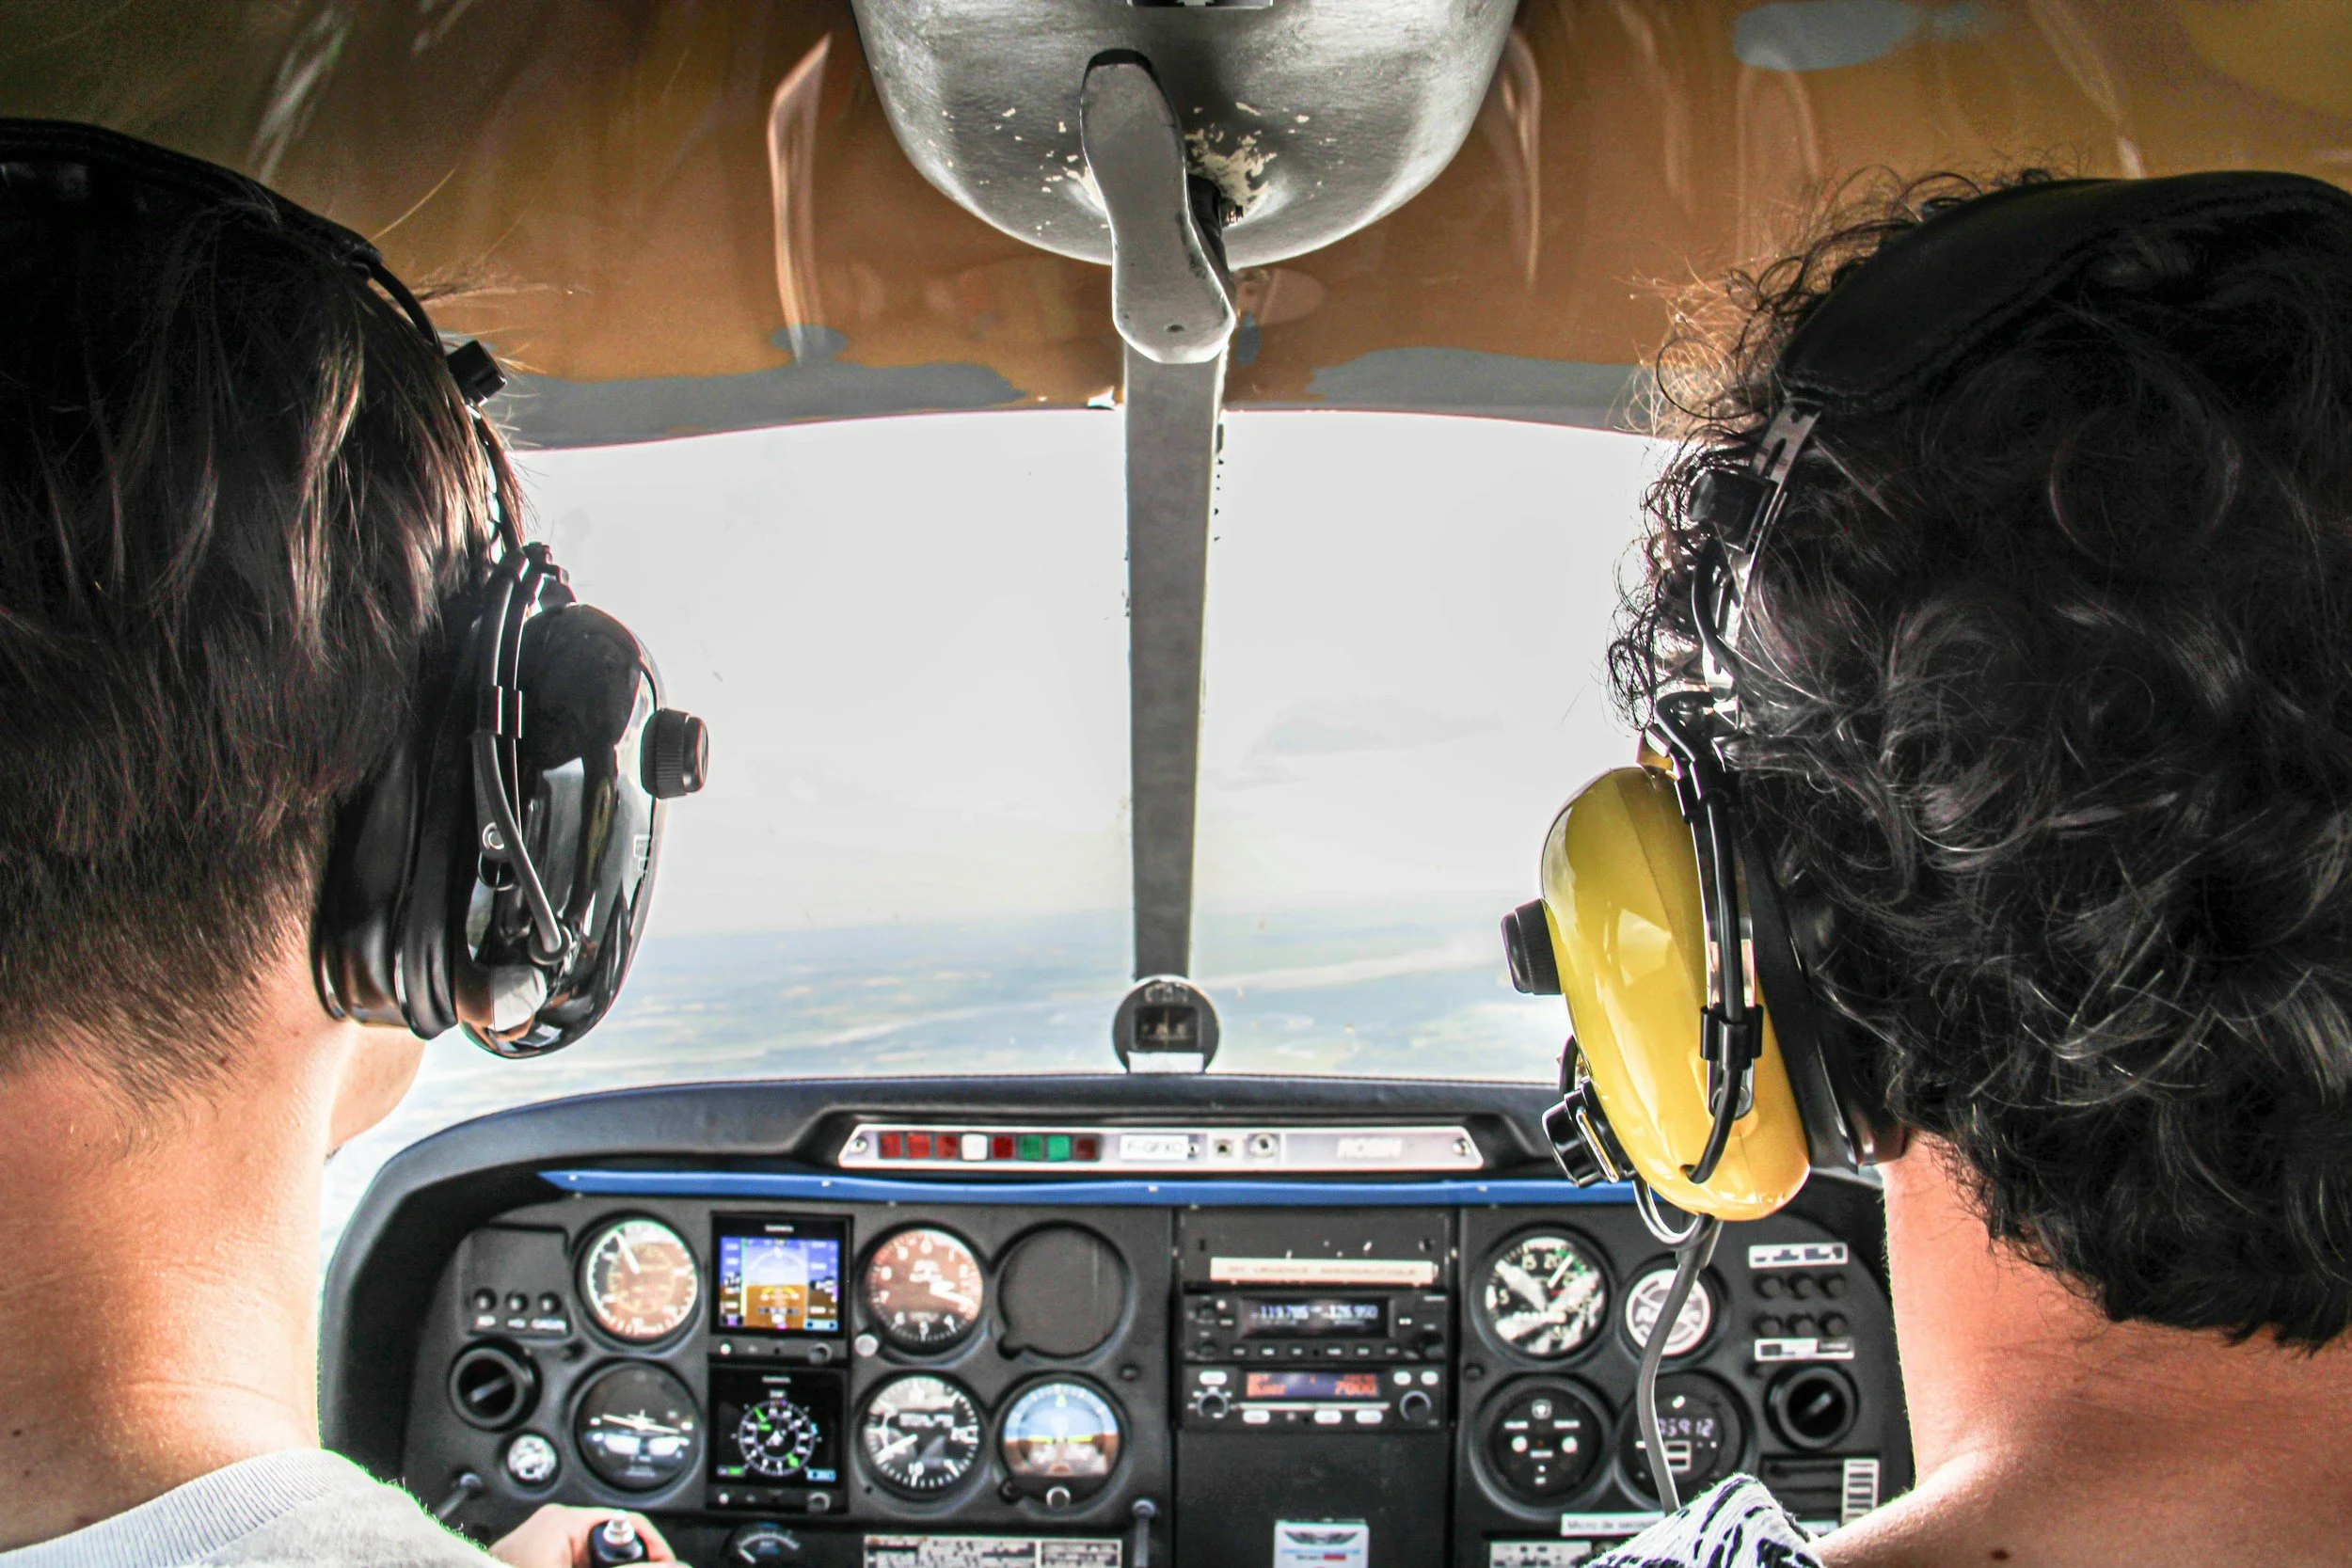
Weight, balance, and aircraft performance sit right at the core of safe flying. They’re not just technical considerations, they directly determine whether your aircraft can safely take off, climb, and land under the conditions you’re operating in.
As PIC, the responsibility is entirely yours. You must ensure the aircraft stays within its weight and centre of gravity limits for the entire flight, and that performance is sufficient for the runway and environment you’re dealing with. This isn’t optional, it’s a legal and operational requirement.
Unfortunately, history shows that getting this wrong can be fatal. Many general aviation accidents have been linked to overloading or operating outside the permitted centre of gravity range. Often, it’s not blatant negligence, it’s small misjudgements. A bit of extra baggage, slightly heavier passengers than expected, or not fully appreciating how temperature and altitude affect performance.
Understanding Aircraft Weight
A key starting point is knowing what actually makes up your aircraft’s weight.
The basic empty weight typically includes unusable fuel, oil, and permanently installed equipment. However, not everything onboard is always included, items like fire extinguishers or first aid kits may or may not be part of that figure depending on when the aircraft was last weighed.
When planning a flight, you need to think realistically about payload. In many light aircraft, especially four-seaters, you simply cannot fill all seats, carry full fuel, and load maximum baggage all at the same time. Trade-offs are part of normal operations.
If there’s any doubt about being close to maximum weight, don’t guess, get actual figures. Weigh passengers if needed, account for bags properly, and don’t forget smaller items like coats or handheld luggage. These all add up.
Fuel is another area where pilots can easily go wrong. Gauges are often unreliable, so physical checks, like dipping the tanks, are far more dependable. When calculating, always convert fuel volume into weight using the correct values. As a guide, AVGAS is roughly 0.72 kg per litre, while Jet A-1 is closer to 0.8 kg per litre.
Exceeding maximum takeoff weight has a direct and noticeable impact on performance.
The aircraft will accelerate more slowly and require a longer runway to get airborne. Climb performance reduces, meaning obstacle clearance becomes more difficult. Stall speeds increase, landing speeds go up, and braking effectiveness is reduced.
On top of that, handling becomes less predictable, and you’re eating into structural safety margins. Perhaps most importantly, once you’re outside certified limits, the performance data in the handbook no longer applies, so you’re effectively operating without a safety net.
Getting Balance Right
Weight alone isn’t enough, you also need to consider where that weight sits.
The centre of gravity is the point where the aircraft would balance if suspended. Its position is critical to stability and control. Move it too far forward or aft, and the aircraft’s handling characteristics change significantly.
A forward CG generally makes the aircraft more stable, but harder to rotate and land, as you lose elevator authority. An aft CG reduces stability, particularly in pitch, and can lead to more unpredictable behaviour, especially at low speeds.
Aircraft are certified with defined CG limits, and these must never be exceeded. Outside of those limits, the aircraft’s behaviour is no longer guaranteed or tested.
It’s also important to remember that CG can shift during flight. As fuel burns, the balance can move depending on where the tanks are located. Even something as simple as a passenger moving a heavy item mid-flight can have a noticeable effect.
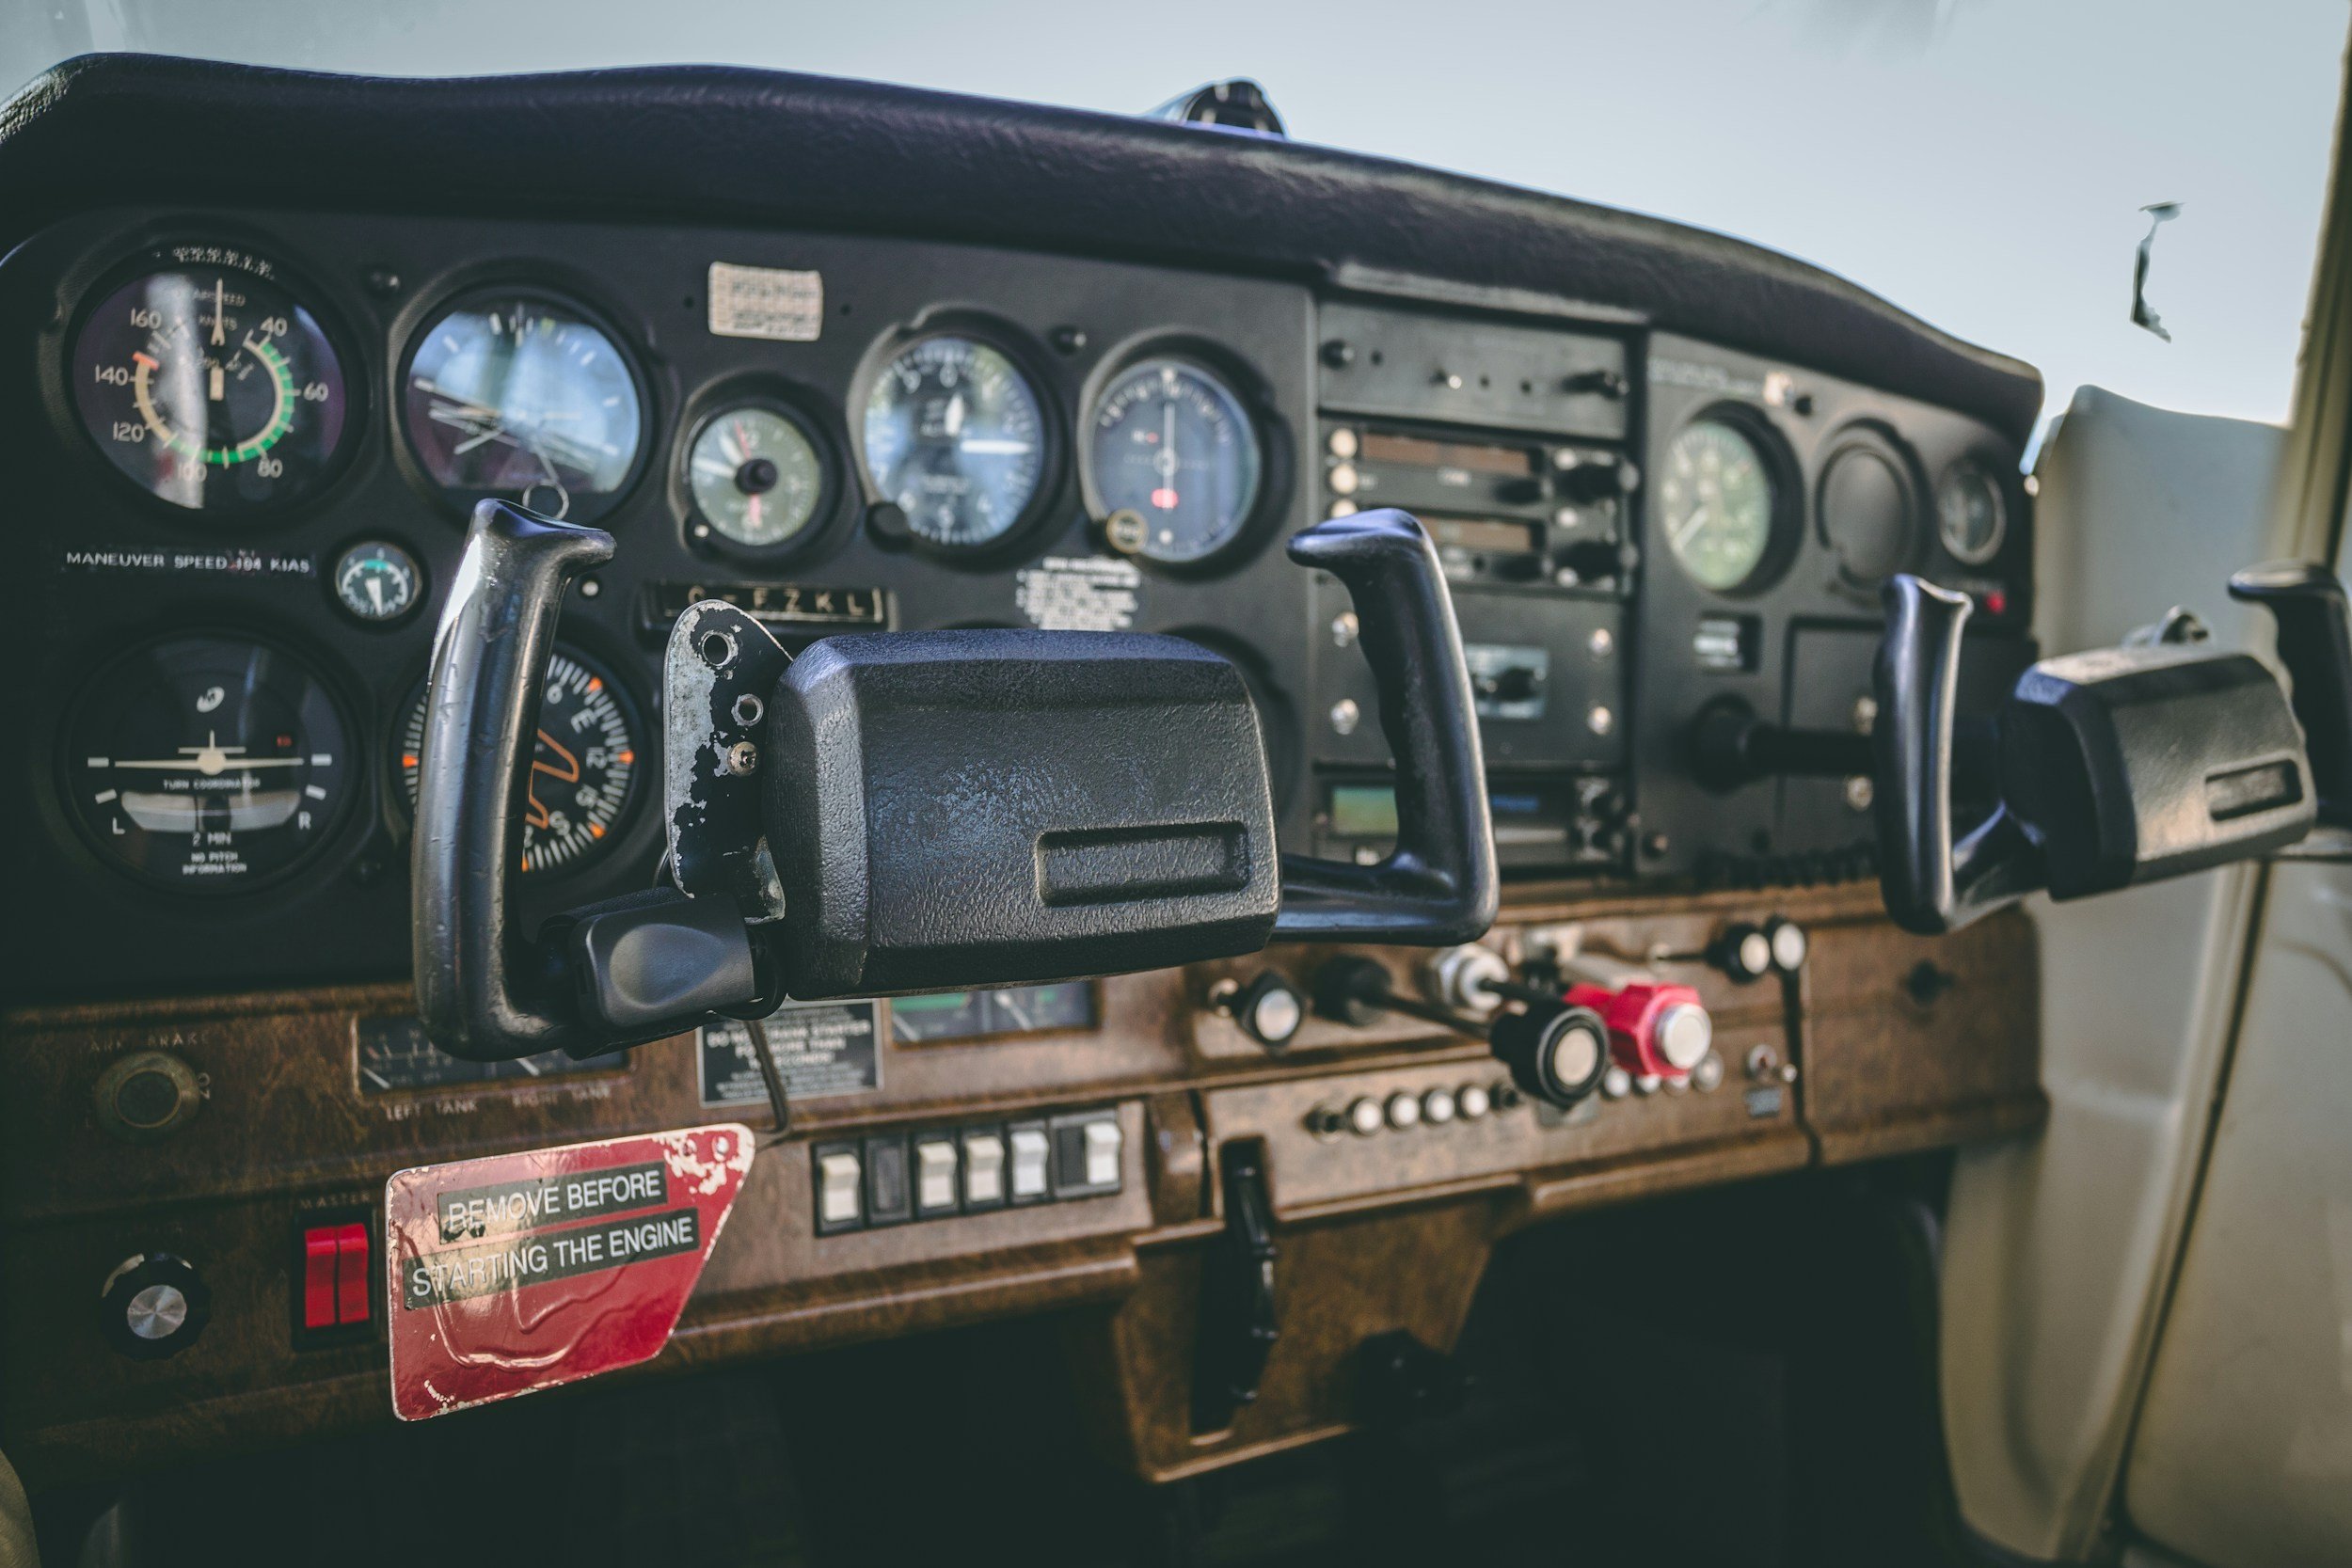
Calculating Weight and Balance
Every aircraft has a specific method for calculating weight and balance, usually provided in the AFM or POH. Whether it’s tables or graphs, the principle is always the same:
Multiply each item’s weight by its distance from a reference point (the “arm”)
Add up all weights and all moments
Divide total moment by total weight to find the CG position
You should always calculate both takeoff and landing conditions, as fuel burn will change the numbers.
While modern flight planning apps can speed this up, they’re only as good as the data you input. Always cross-check against the aircraft’s official documentation, especially when using a new aircraft or unfamiliar setup.
Performance: More Than Just Numbers
Even if your weight and balance are within limits, performance still needs careful consideration.
The figures in the aircraft manual are based on ideal conditions: a new aircraft, a perfect pilot technique, and standard atmospheric conditions. Real-world flying is rarely that forgiving.
Factors like higher temperatures, increased altitude, runway slope, surface condition, and even a slight tailwind can significantly increase the distance required for takeoff and landing.
For example, a heavier aircraft on a warm day at elevation may need dramatically more runway than you’re used to in cooler conditions at sea level.
That’s why applying safety margins is essential. Commercial operations are required to do this, and there’s no reason GA pilots shouldn’t adopt the same mindset.
Runway Performance and Planning
Understanding your available runway is just as important as understanding your aircraft.
Key distances to know include:
Take-off Run Available (TORA) - the usable runway length
Take-off Distance Available (TODA) - includes clearway beyond the runway
Landing Distance Available (LDA) - usable landing length
Accelerate-Stop Distance Available (ASDA) - runway plus stopway
These figures define your operating limits. When working with shorter runways or strips, you also need to factor in obstacles, surface conditions, and any unusable sections.
Decision-Making on Takeoff
One of the most important habits to develop is setting a clear decision point before every takeoff.
If the aircraft hasn’t reached a certain speed or performance level by a defined point on the runway, the takeoff should be rejected. This removes hesitation and prevents last-second, high-risk decisions.
Too often, accidents occur because pilots try to force the aircraft into the air when something isn’t right. A rejected takeoff and runway overrun is almost always preferable to a low-level stall.
Climb Performance and Environment
Climb performance becomes especially important when obstacles or terrain are involved.
You should know what rate of climb to expect for your weight and conditions, and recognise when the aircraft isn’t performing as it should. Poor climb performance can be an early warning sign of an engine or configuration issue.
Environmental factors play a huge role here. Higher temperatures and altitudes reduce air density, which in turn reduces engine power and lift. This is why density altitude is such a critical concept, it reflects how the aircraft actually “feels” the air.
Weight, balance, and performance aren’t just pre-flight admin, they’re fundamental to safe decision-making.
Cutting corners here might save a few minutes on the ground, but it introduces risk that compounds throughout the entire flight. The best pilots treat these calculations as non-negotiable, building a clear understanding of their aircraft and applying disciplined judgement every time they fly.